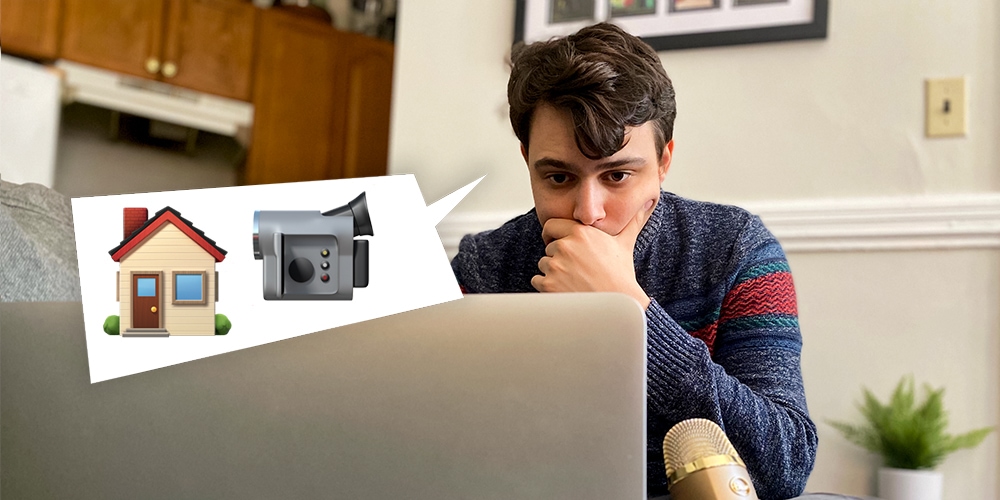
Hi, I’m Dan. I’m one of two video producers on the Drift Studios team ?
In the pre-COVID-19 days, I probably spent about a third of my week either filming or taking photos of the happenings in the office. But now? There’s no office to film, and I haven’t left my tiny Boston apartment in what feels like (and has actually been) months.
Basically what I’m saying is, conditions are tough for video producers. Movie and video productions across the planet have been stopped in their tracks. Ironically, video viewing habits have only increased, and I’m sure this won’t be the only blog post you’ll come across this week telling you that digital marketing is super important right now.
There’s a big demand for great video content. But now that most of us are working from home, it’s pretty much impossible to create net-new video content, right? Wrong.
In fact, when my colleagues reach out and ask me what I’ve been up to since lockdowns went into effect, I tell them the truth of it, “I’m super busy!”
Here are five ways I’m doubling down on producing video content for Drift…without leaving my apartment ?
1. Working with Design
Video and design are often thought of as best friends (but they can also be worst enemies). A great inspiration for your videos can come from your design team. I try to mimic the style of Drift’s designers as much as I can when I’m creating text and graphics for my videos, and I often try to use the same assets and textures that they’re already using in their designs. Without as much raw footage to work with lately, I’ve found that trying to bring these designs to life through animation can be a great practice – and it can be an extra eye-catching component to your pages and videos.
If you feel like you know a lot about video production but no so much about design, then I have good news for you. More often than not, the brand you’re working for will have pre-existing design assets, fonts, logos, etc. Following their creative guide (while also translating it for video) is a great way for video producers to dip their toes into design. And it’s way easier to use pre-existing assets in your videos.
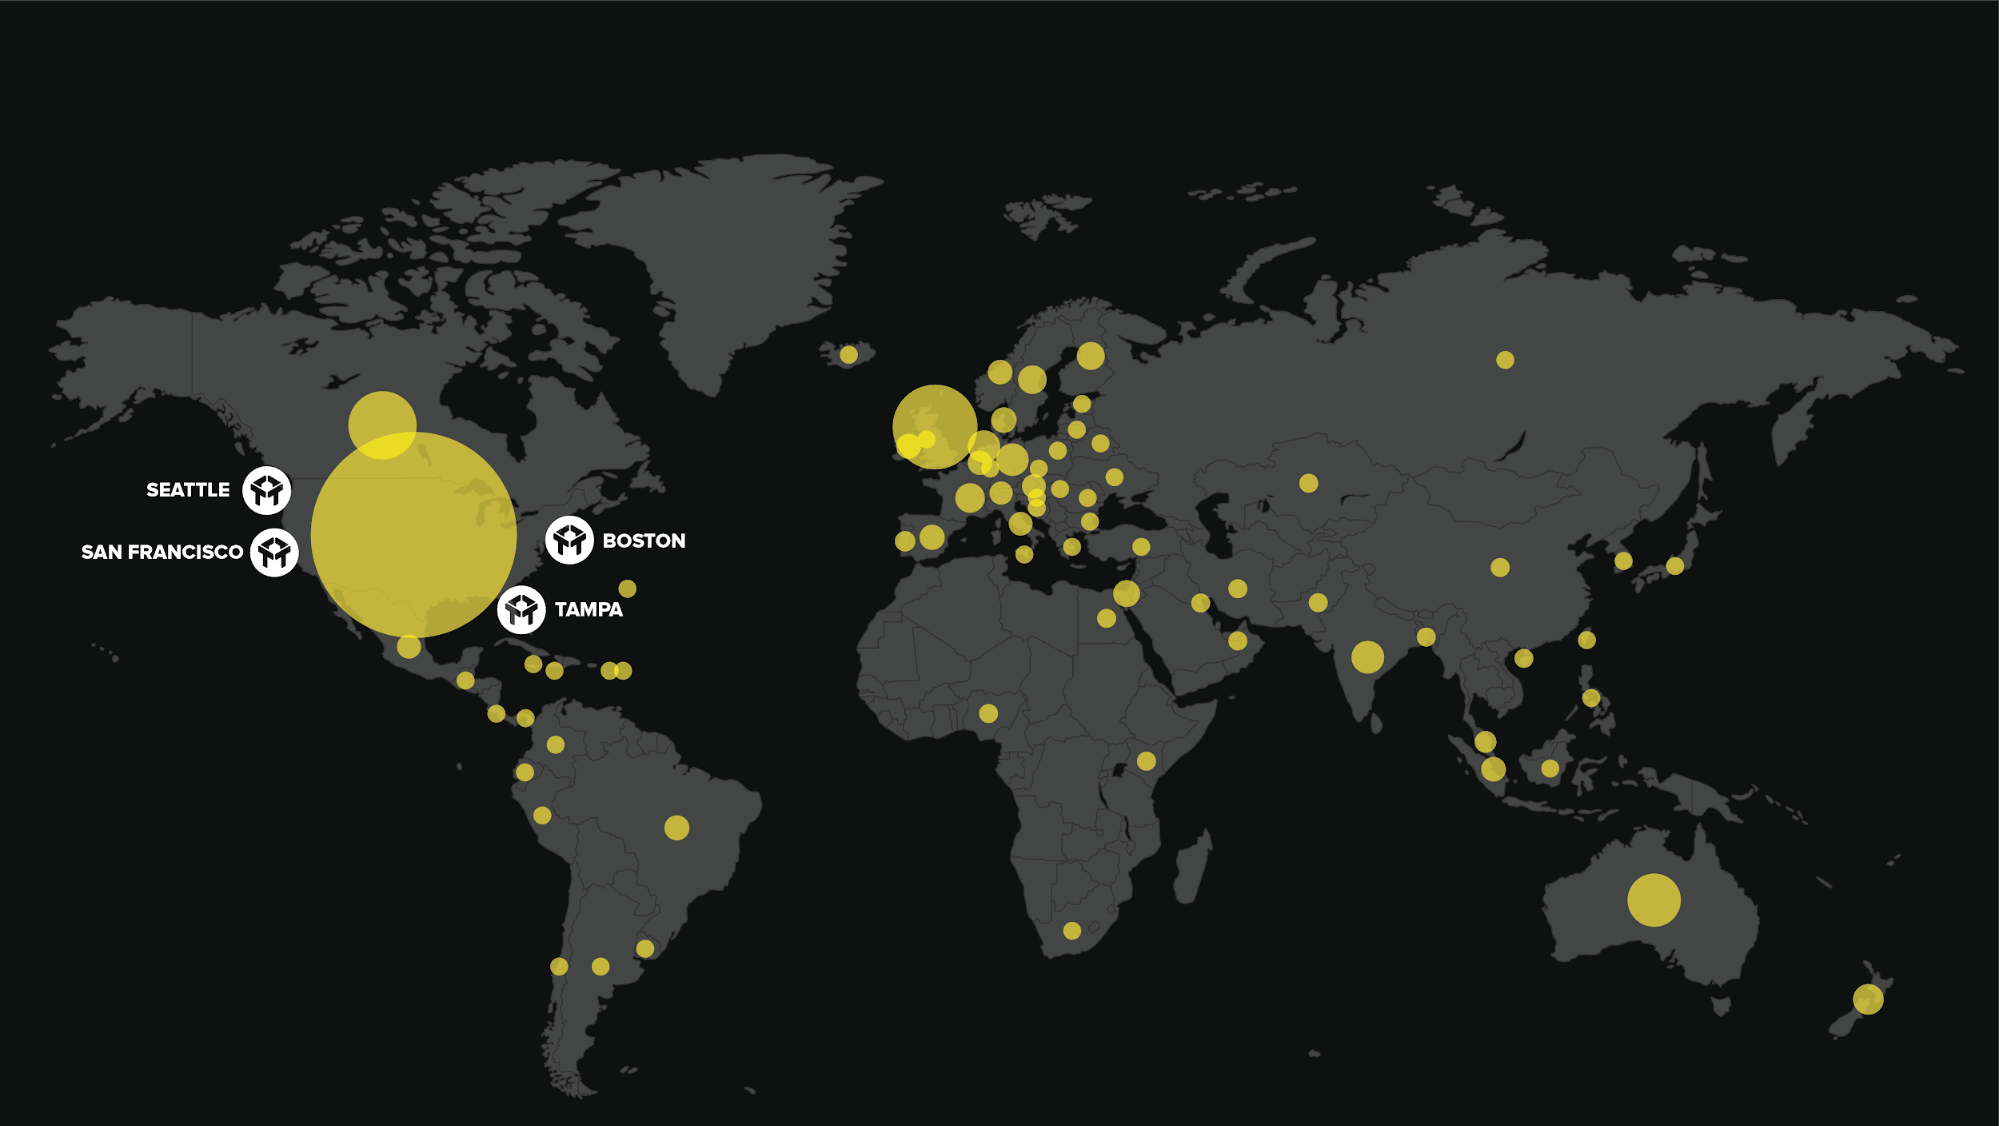
In the example below, I took an already existing map from a slide presentation we had created and repurposed it for a video about careers at Drift.
From design:

To video:

The takeaway: Use existing design assets whenever you can, and help bring these designs to life with animation.
2. Repurposing Old Videos
At the time lockdown began, I’d had a number of videos I was already making for Drift, but I couldn’t complete filming. Rather than just scrap these videos, our CMO suggested that I try repurposing some of the interviews. For this video, I had initially set out to record a number of vignettes on individual job roles.
During the interviews I captured, however, I noticed all of our San Francisco Drifters just kept going on and on about how much they loved the SF office and the people who work there. By taking bits of these interviews, I was able to create a brand new video about life at the SF office. That video now lives happily on our Careers page. It was in no way the video I set out to make, but you’d be surprised how many different ways you can re-purpose the same interview. Especially when your video features several interviewees, it’s easier to get away with using tiny bits of a much longer interview.
The takeaway: Just because that video you were working on no longer works in new normal, that doesn’t mean you can’t re-use that footage 100 different ways. Get creative!
3. Making the Most of Your Video Conferencing Calls
I know, I know. We’re all very tired of video conferencing calls. The fatigue is real. And unless both participants have great mics and cameras, it’s hard to get great quality videos from one. But that doesn’t mean that your customers and prospects can’t get value from the information they provide.
In other words, we’re certainly not above repurposing video conference calls for our channels. But don’t just take a snippet of a long video call and throw it on your social – you’ve got to do everything you can to take that average looking piece of content and make it look great and on-brand.
One way you can do this is by lighting and framing your calls to the best of your abilities. This is a great resource to pass along to whoever on your team is going to be on the call. Another way you can make these types of clips more eye-catching is by giving them a branded frame.
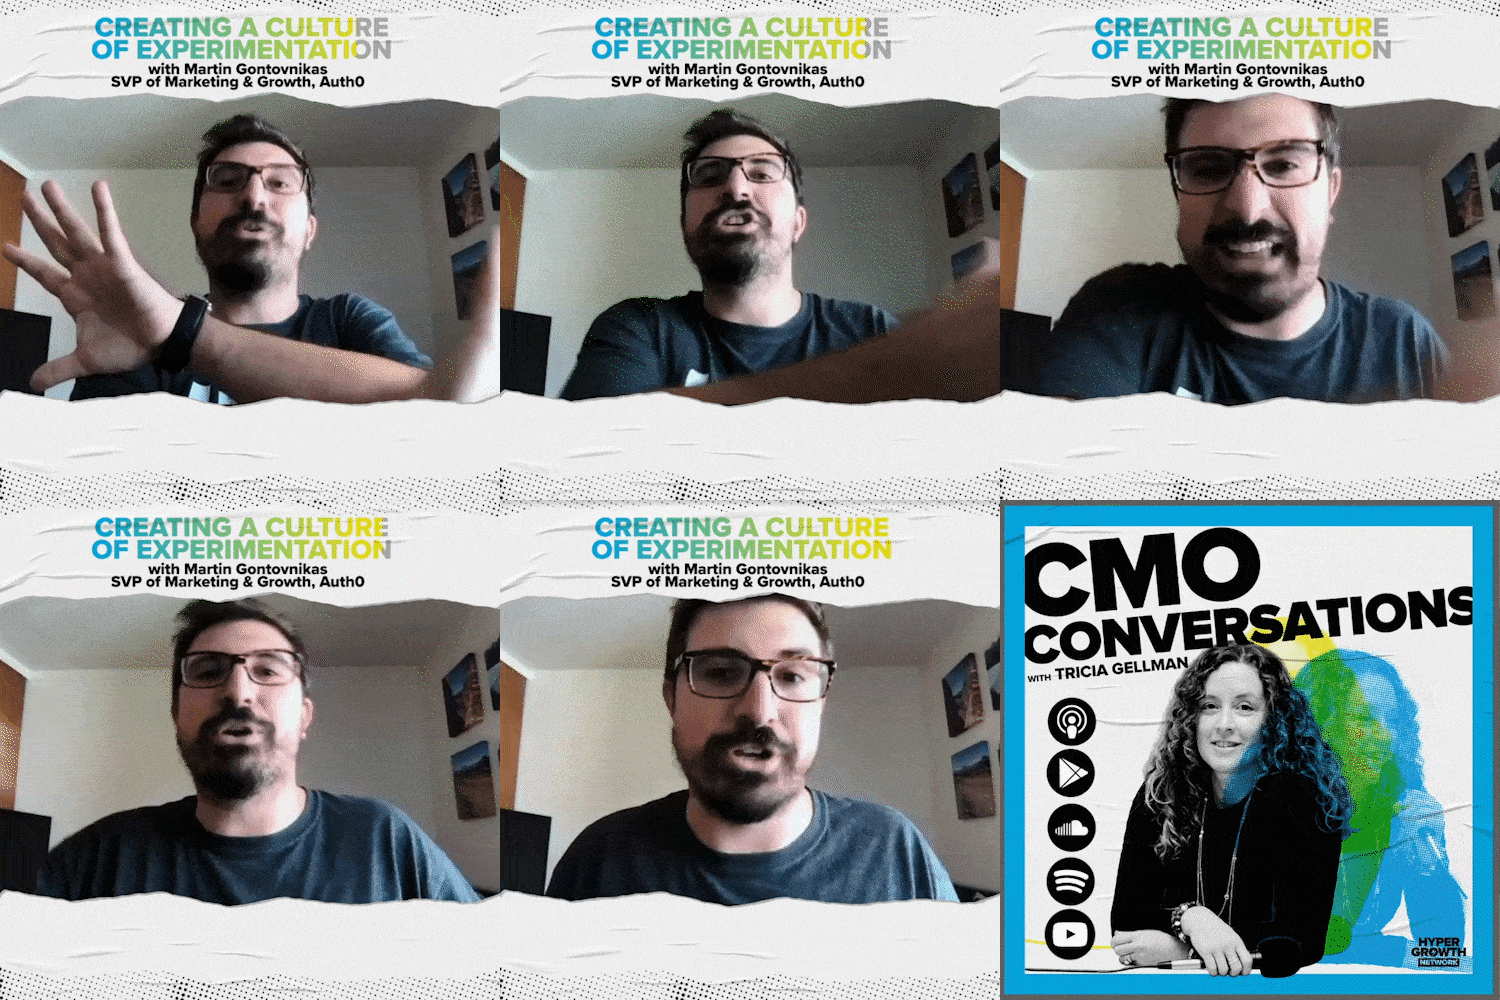
For example, I’ve started making a lot of social clips for our CMO Conversations podcast ?

I wanted to create a frame for this clip that felt on-brand with the other branding the design team had already created for the show. So, I used the same paper texture the cover uses and created a gradient from the colors we associate with this podcast’s brand. But don’t stop at frames. You can also add text and graphic animations to spruce up the action of the video. Using color and textures in this way creates a scalable way to properly brand your clips, no matter what quality video you have to work with.
The takeaway: Video conference calls can make for good video content, but make sure to add your own brand elements to make it stand out.
4. Sending Simple Film-at-Home Packages
And if none of those options are getting you where you need to go, and you still can’t return to your studio – try bringing the studio to your subject! It turns out that getting film-at-home packages for your speakers is actually quite inexpensive. There are four components you need to consider: light, camera, mic, and background. If you have a phone, then you automatically have all four. Let’s go into that a bit further:
- Light: A go-to light for a lot of YouTubers and at-home solo productions, seems to be the ring light. It provides good lighting for a single subject and most have a place for you to place your phone, so you won’t need a tripod or stand for it. They are also super simple to set up and use. If you’ve used a lamp before, chances you are, you can figure it out. Don’t feel like dropping $60 on the light? Then make sure to have your subject position themselves in front of a brightly lit window or light source (more on this in our post on video tips for working remotely and our video on how to light for video).
- Camera: Everyone knows how to record a video on their phone, and the quality isn’t all that bad. iPhones don’t have too many camera settings to play with, but always make sure you tap on the area you want your phone to focus on, then stay in that area! Laptops also have built-in cameras as we all know by this point. Pro tip: You can record nice quality selfie videos using Drift Video, then use that file as well.
- Mic: Again, phones and laptops have mics built-in. But to level it up, you can buy a USB mic for a laptop, or almost any auxiliary mic for your phone. I like this USB mic for laptops and this aux mic for phones.
- Background: Always make sure your background is neat and not distracting. We’ve also used simple collapsible backgrounds in the past, which can be as cheap as $50.
Here’s what an at-home studio setup can look like:

Compared to our in-office setup:

The takeaway: It doesn’t have to break the bank to set up an on-the-go studio where your subject is.
5. Optimizing and Experimenting with Existing Content
Okay, this isn’t exactly producing new content, but can still be super helpful when it comes to generating new views. As video producers, we often finish making a video, upload it to our YouTube or hosting site, and then…we’re done.
If you’re a video producer on a marketing team, you might pass the video off to the team member that needs it for their campaign, event, etc., and then move on. If you’re a freelancer, you get your client to sign off on it, and then you move on to the next project. My point is, as video producers, we get into the habit of finishing the upload and then moving on to making the next video in our queue.
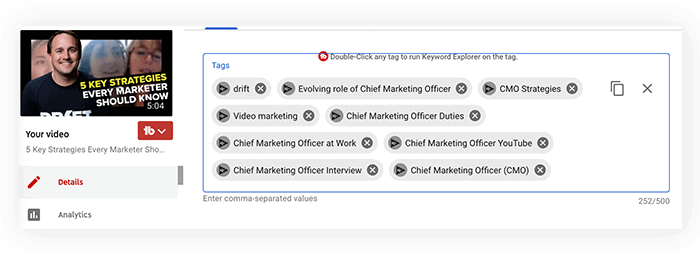
But the reality is, it’s not enough to just make great content – you can’t just expect it to get seen. The step after uploading is optimizing, and this can look different for each channel you want to upload to. YouTube is the biggest household name for videos. The search engine is MASSIVE and ever-evolving. Just because you used great tags for your video a year ago, doesn’t mean those tags are still relevant or are even still helping to get your video seen. Now is a great time to revisit those tags and test what works best. To get the most out of our YouTube page, we’re big fans of tools like vidIQ and TubeBuddy.

Another component of YouTube optimization is the thumbnail (aka the image that represents your video). Have you ever noticed that on Netflix, your favorite show’s thumbnail image will change from time to time? That’s because Netflix is A/B testing the best performing images right before your eyes to find out which ones bring in the most viewers. You can do the same on your YouTube page by just trying a new thumbnail from time to time and tracking the results. A great place to start is by looking at what the best performing videos on YouTube are using for thumbnails and tags.
The takeaway: Is your video not performing well? Maybe it’s the content, but it could also be the way it’s been optimized. Experiment with A/B tests – then track the results. You can learn a lot and maybe even bring new views and conversions to already existing content.


